Contents
Overview
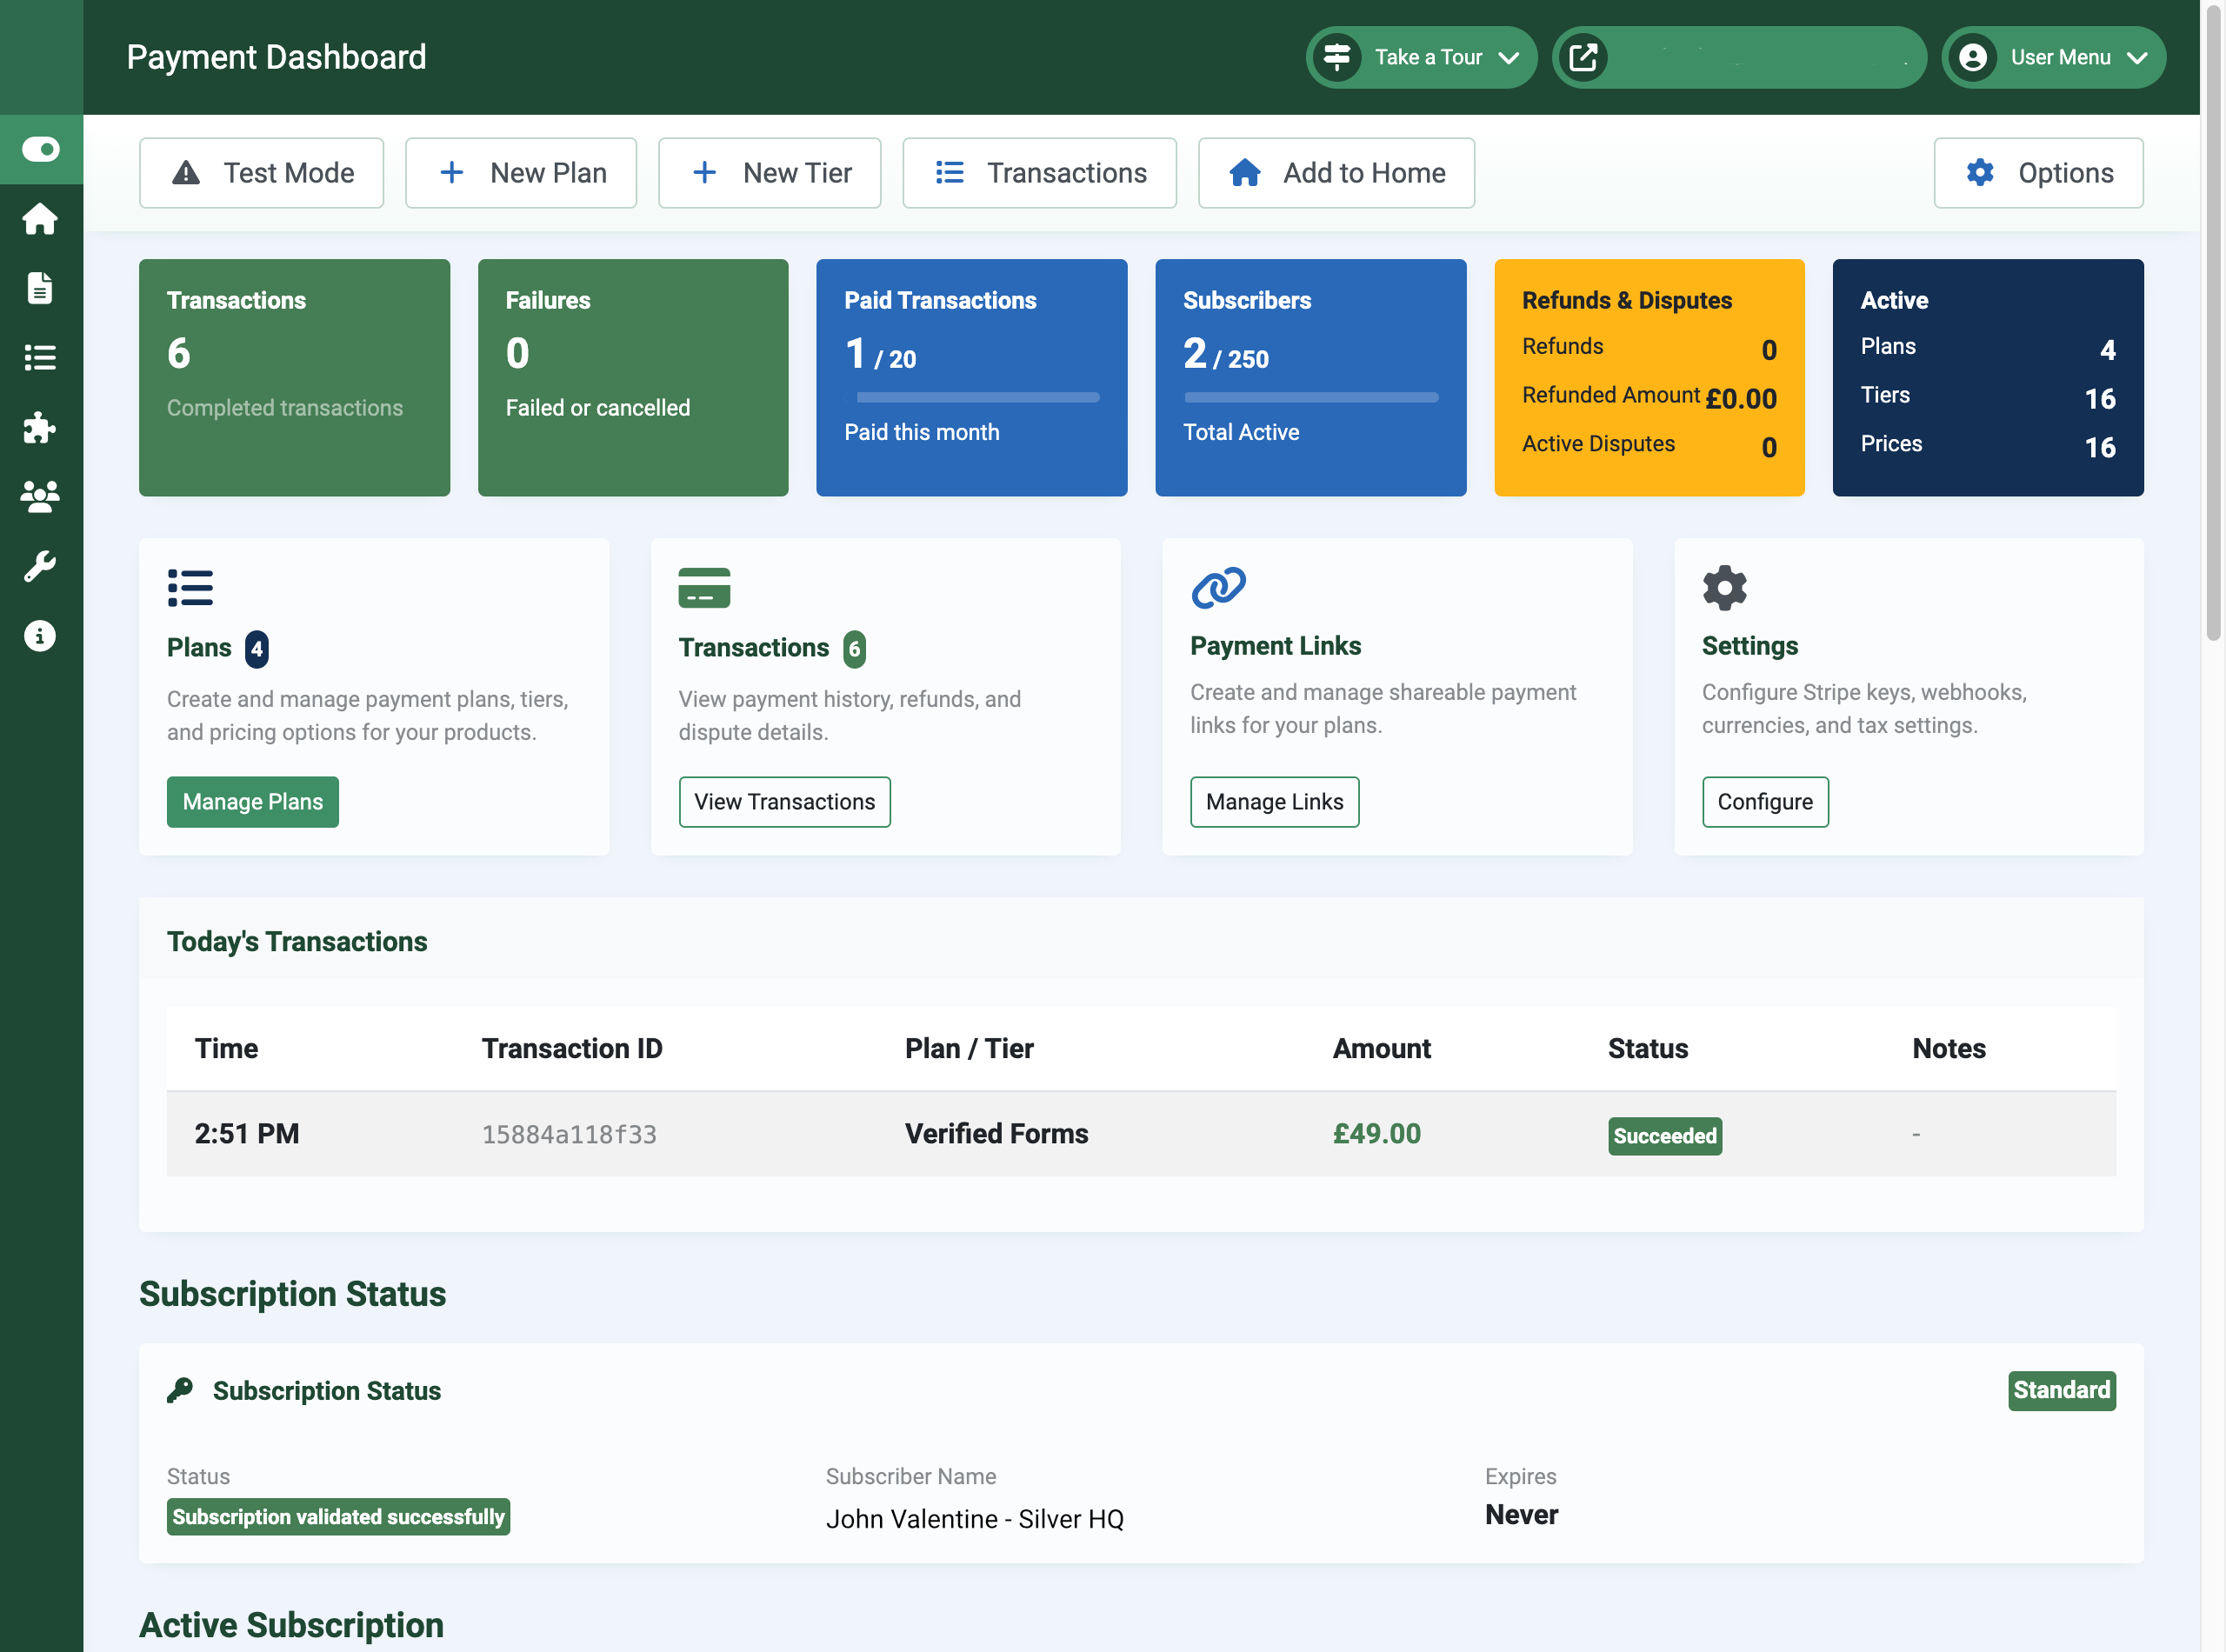
Payments (pkg_payments) is a Joomla extension package for accepting one-time and recurring payments through Stripe. It includes a payment processing component, a site module for displaying pricing plans, and a background task plugin for webhook processing.
Payments integrates with Subscription Manager to automatically generate subscription keys when customers complete a purchase.
Payments is open source software released under the GNU General Public License v3 (GPL-3.0-or-later).
Stripe Integration
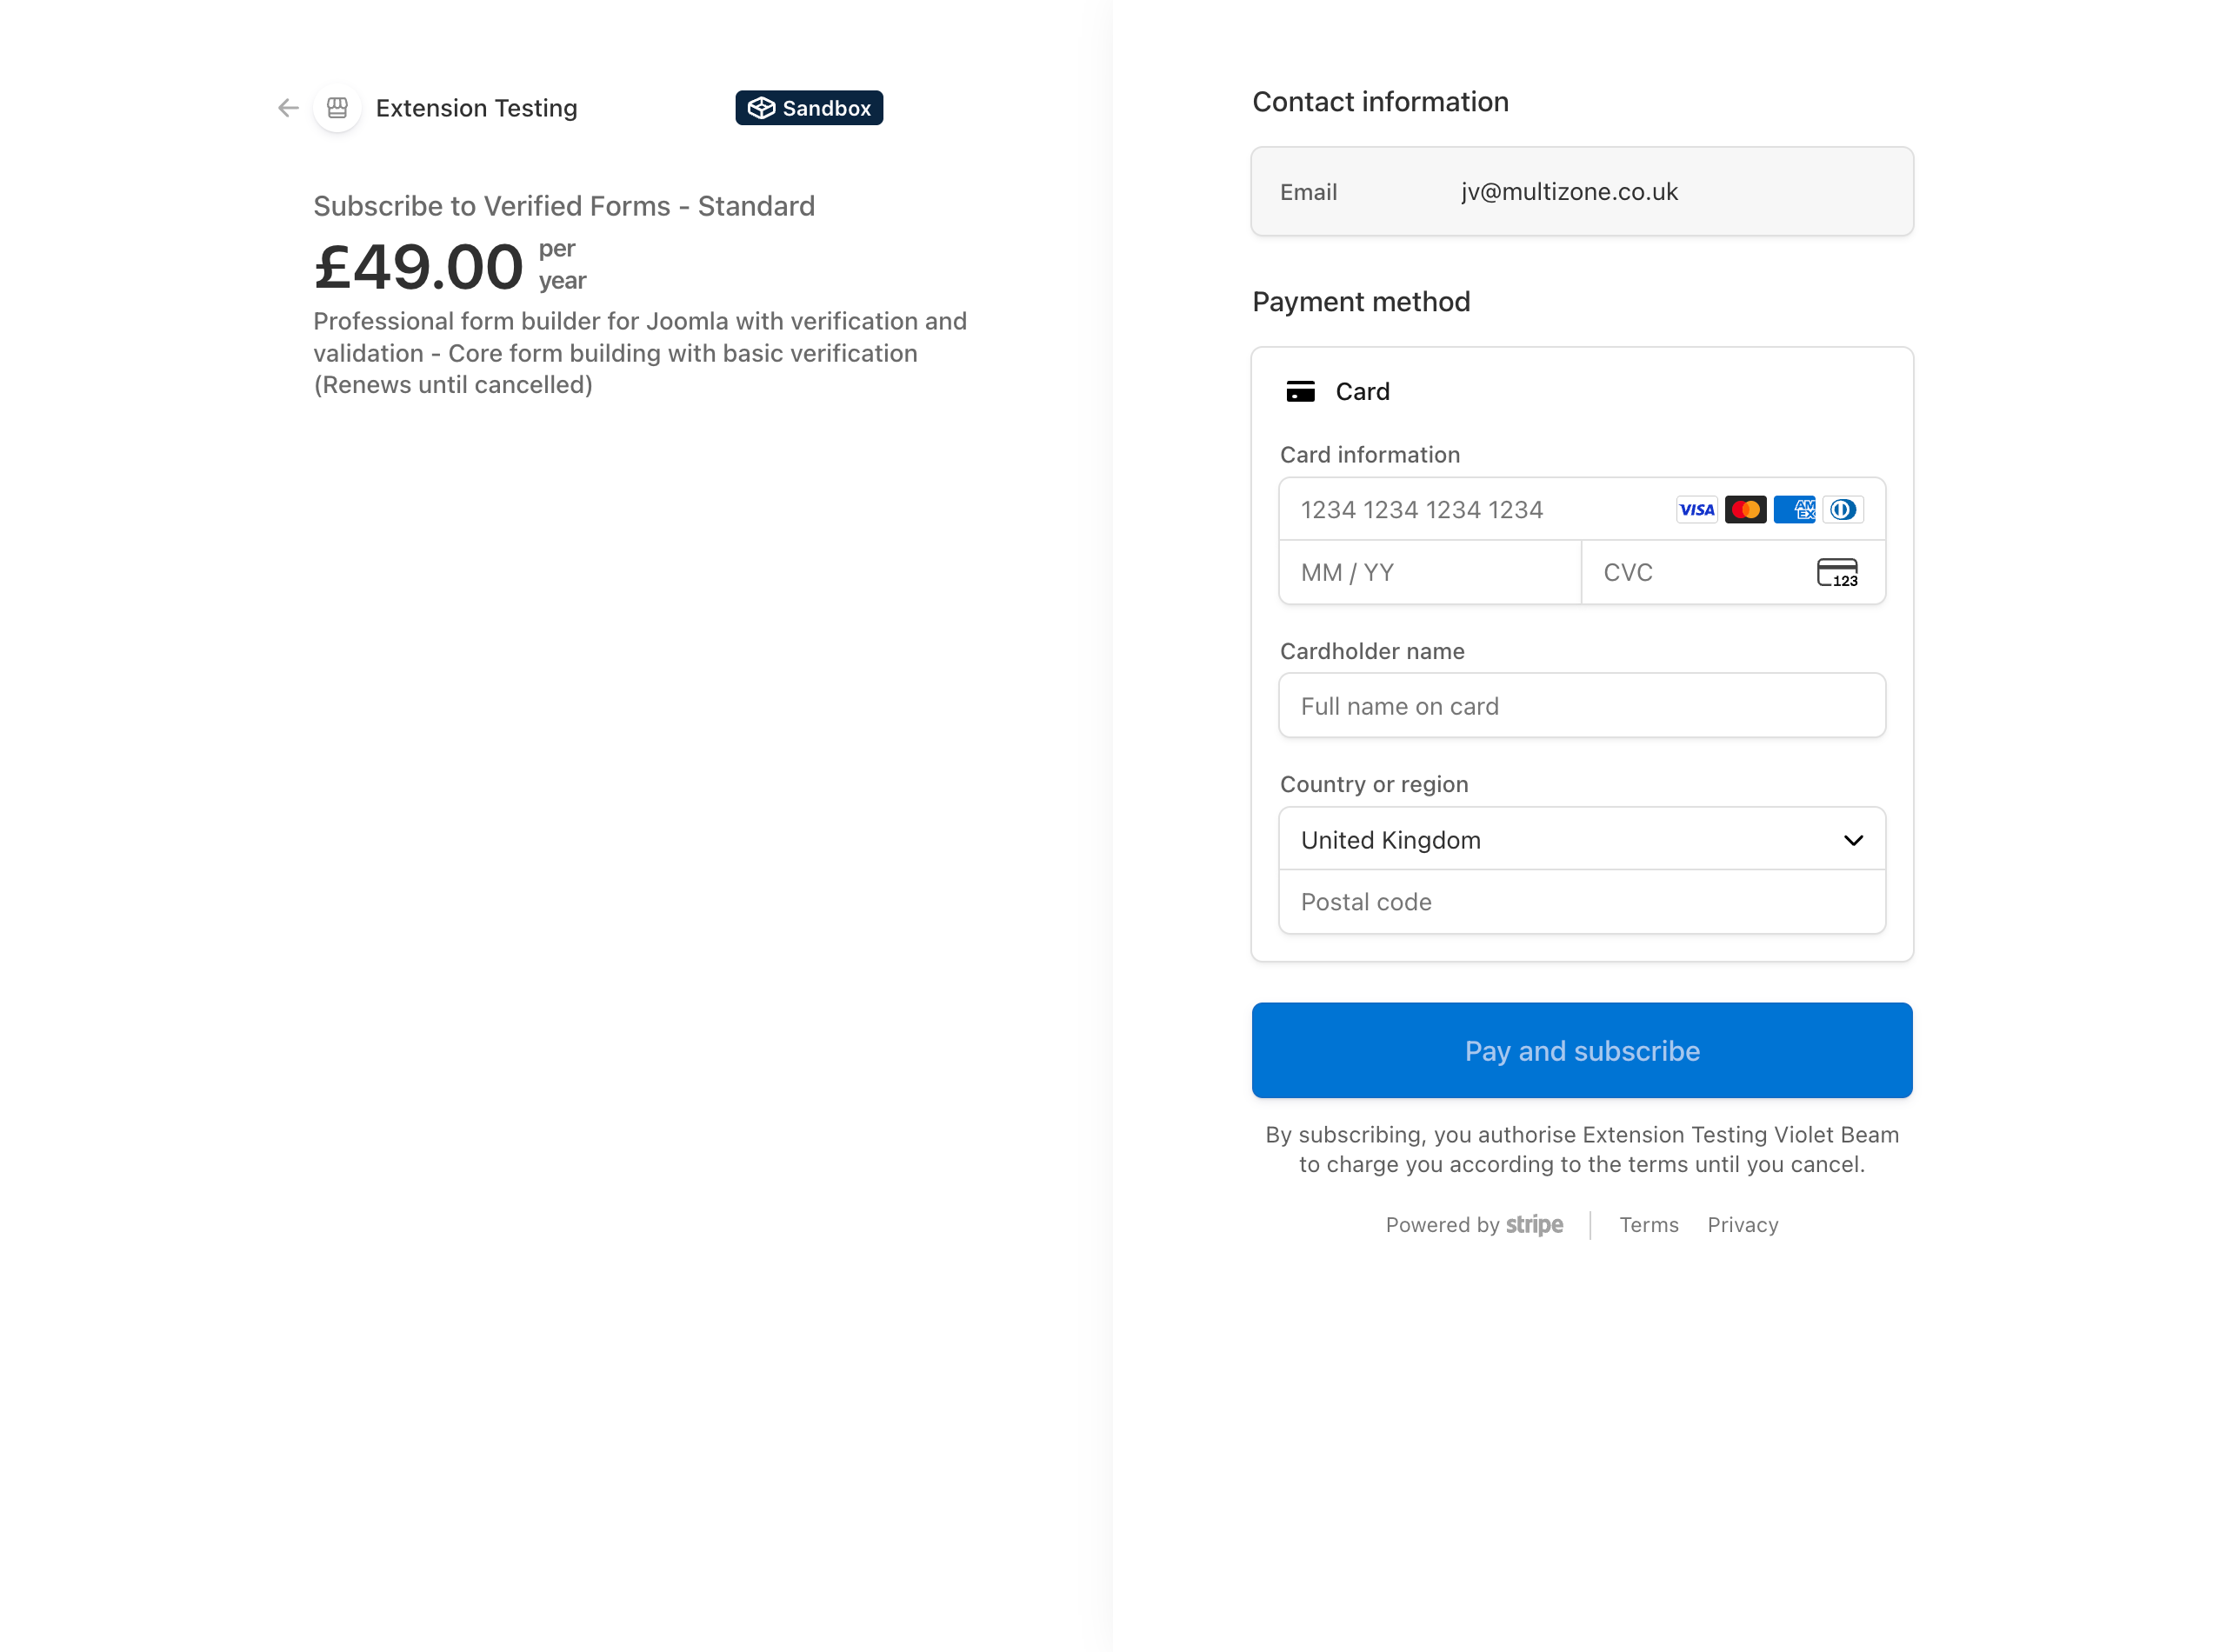
Complete payment processing with test and live modes, webhook signature verification, and automatic product synchronisation.
Flexible Pricing
Support for multiple currencies (GBP, USD, EUR, CAD, AUD), one-time and recurring billing, and configurable tax rates.
Payment Links & Discounts
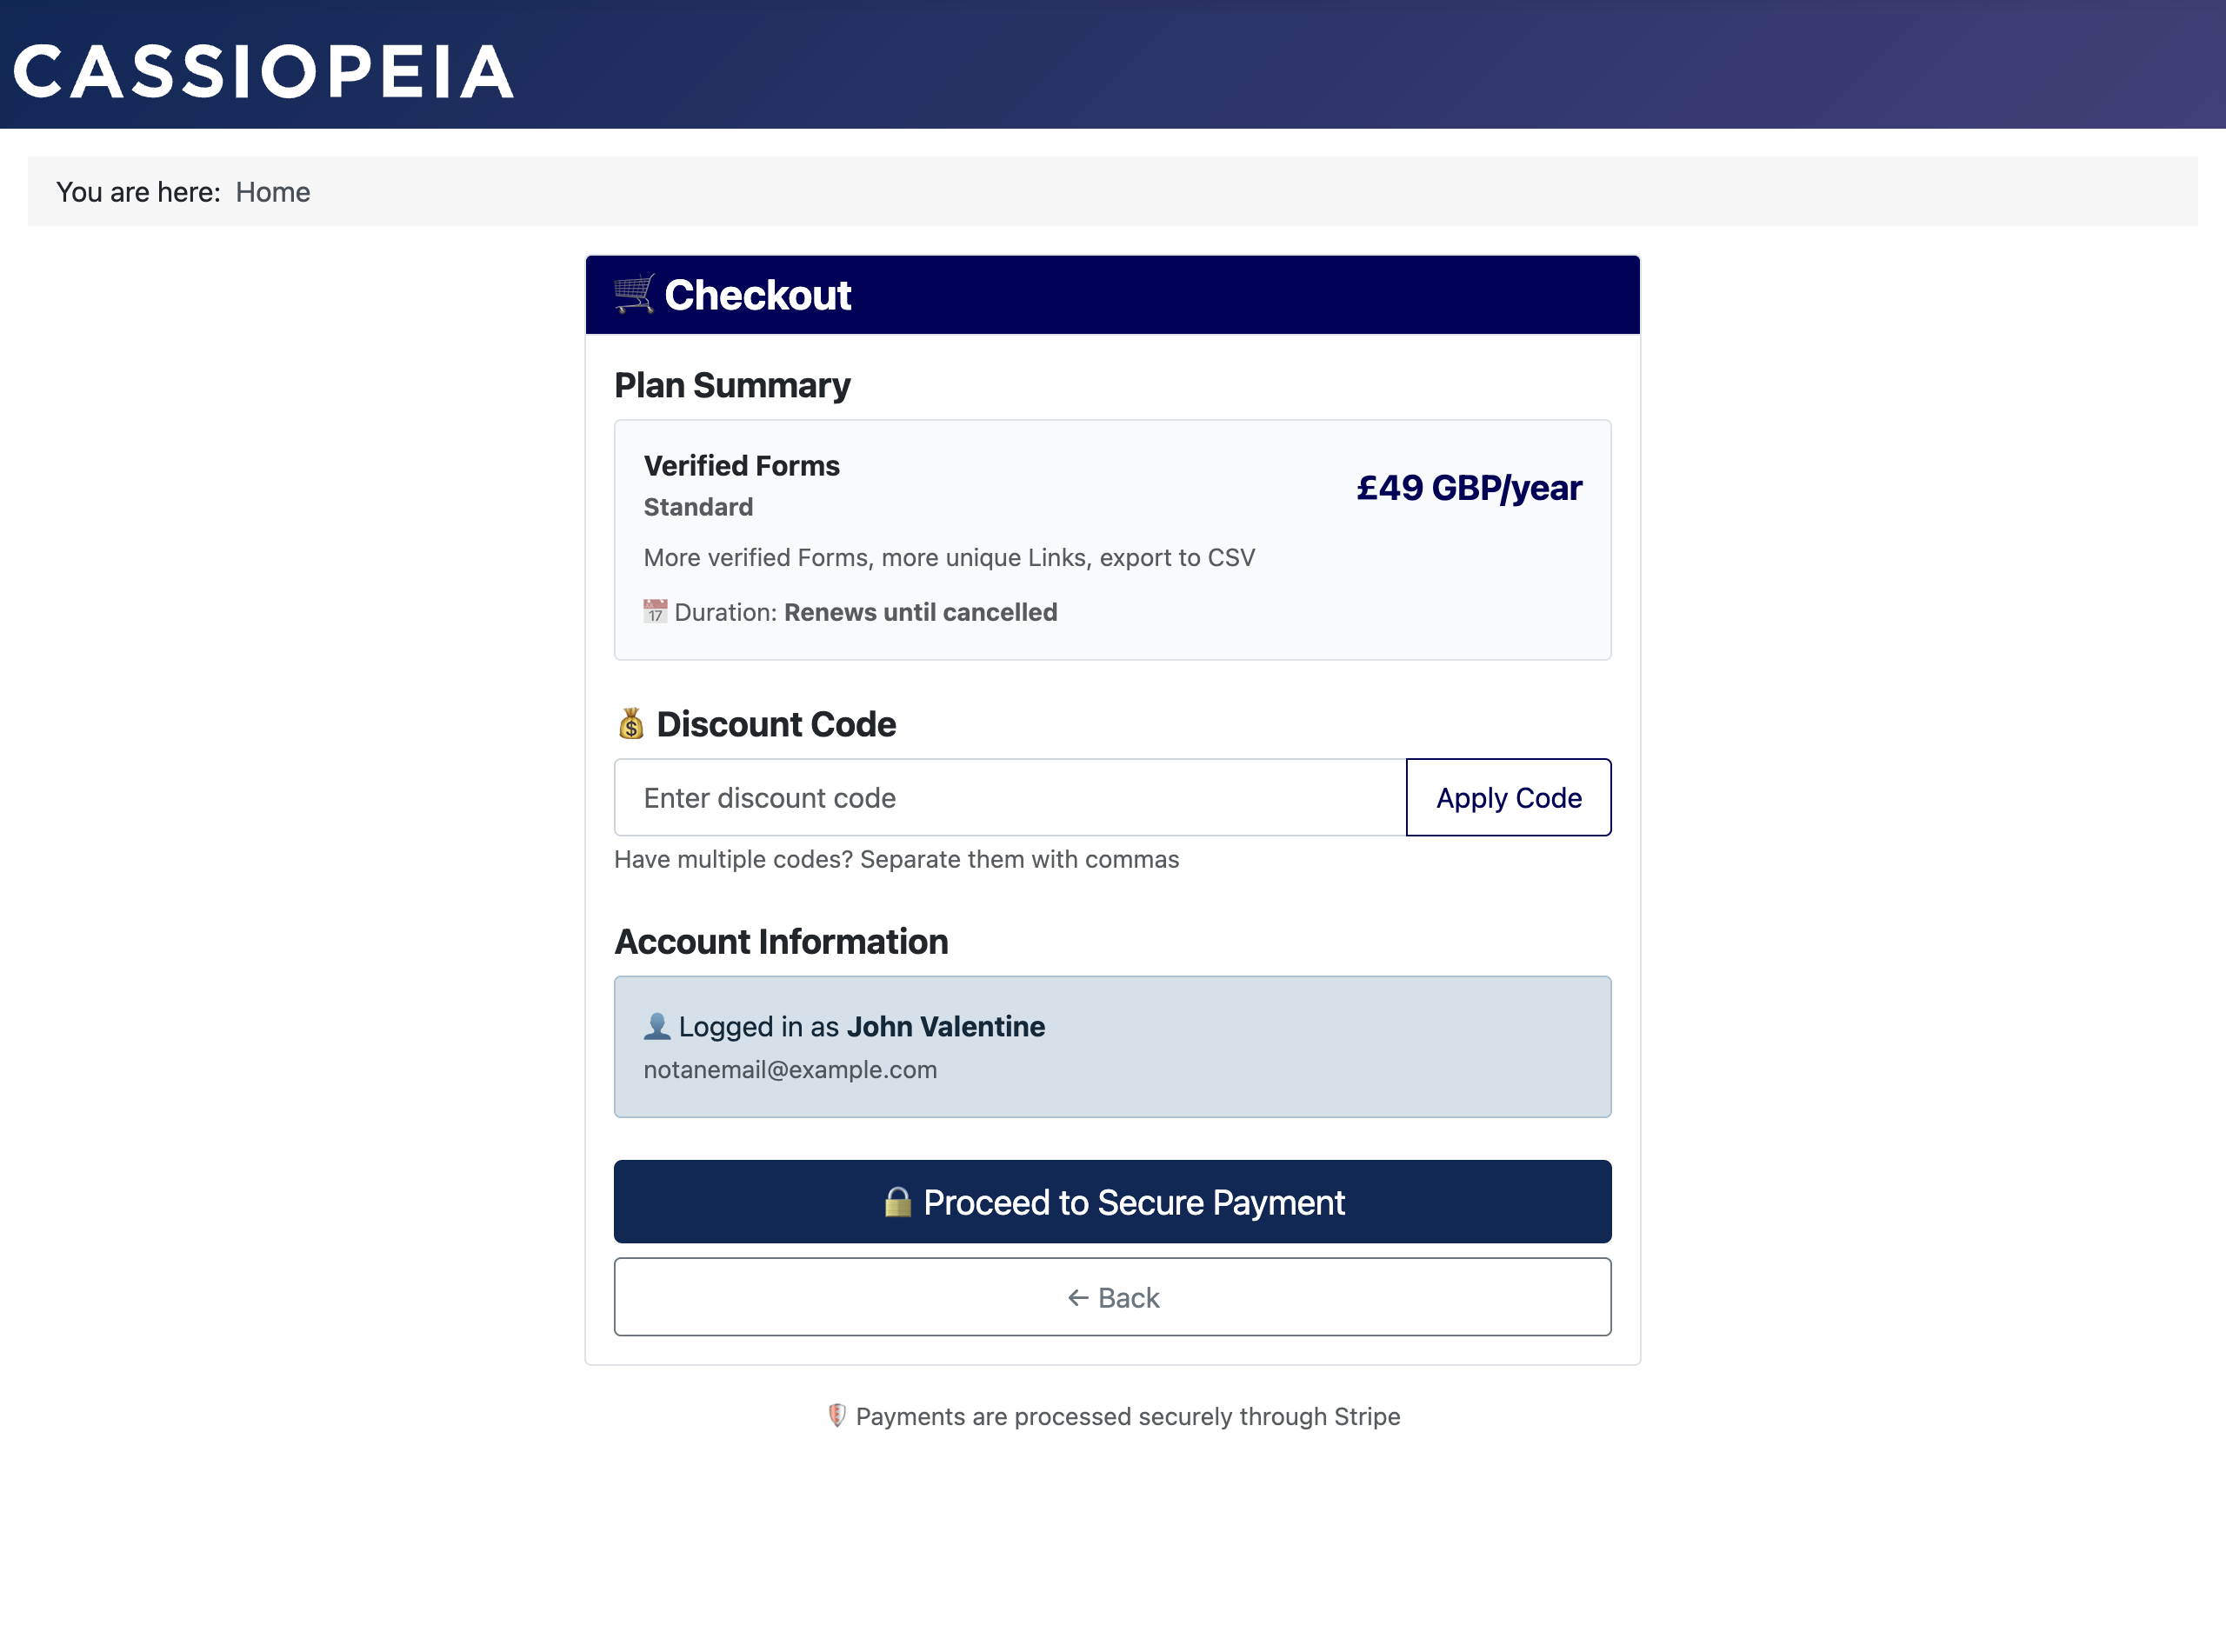
Shareable checkout URLs, promotional discount codes, and a site module for displaying pricing cards.

Installation
Step 1: Install the Package
- Download the latest
pkg_paymentspackage from the extensions directory or from Multizone Limited - Log into your Joomla Administrator
- Navigate to Extensions > Install > Install from File
- Upload the
pkg_payments_vx.x.x.zipfile and click Install
Step 2: Verify Installation
- Go to Extensions > Manage > Manage
- Search for “Payments”
- Ensure the component, module, and system plugin are all installed and enabled
Step 3: Initial Configuration
- Navigate to Components > Payments
- Click Options in the toolbar
- Enter your Stripe API keys (test keys first for testing)
- Configure your default currency and payment settings
- Click Save & Close
Getting Started
Create a Payment Plan
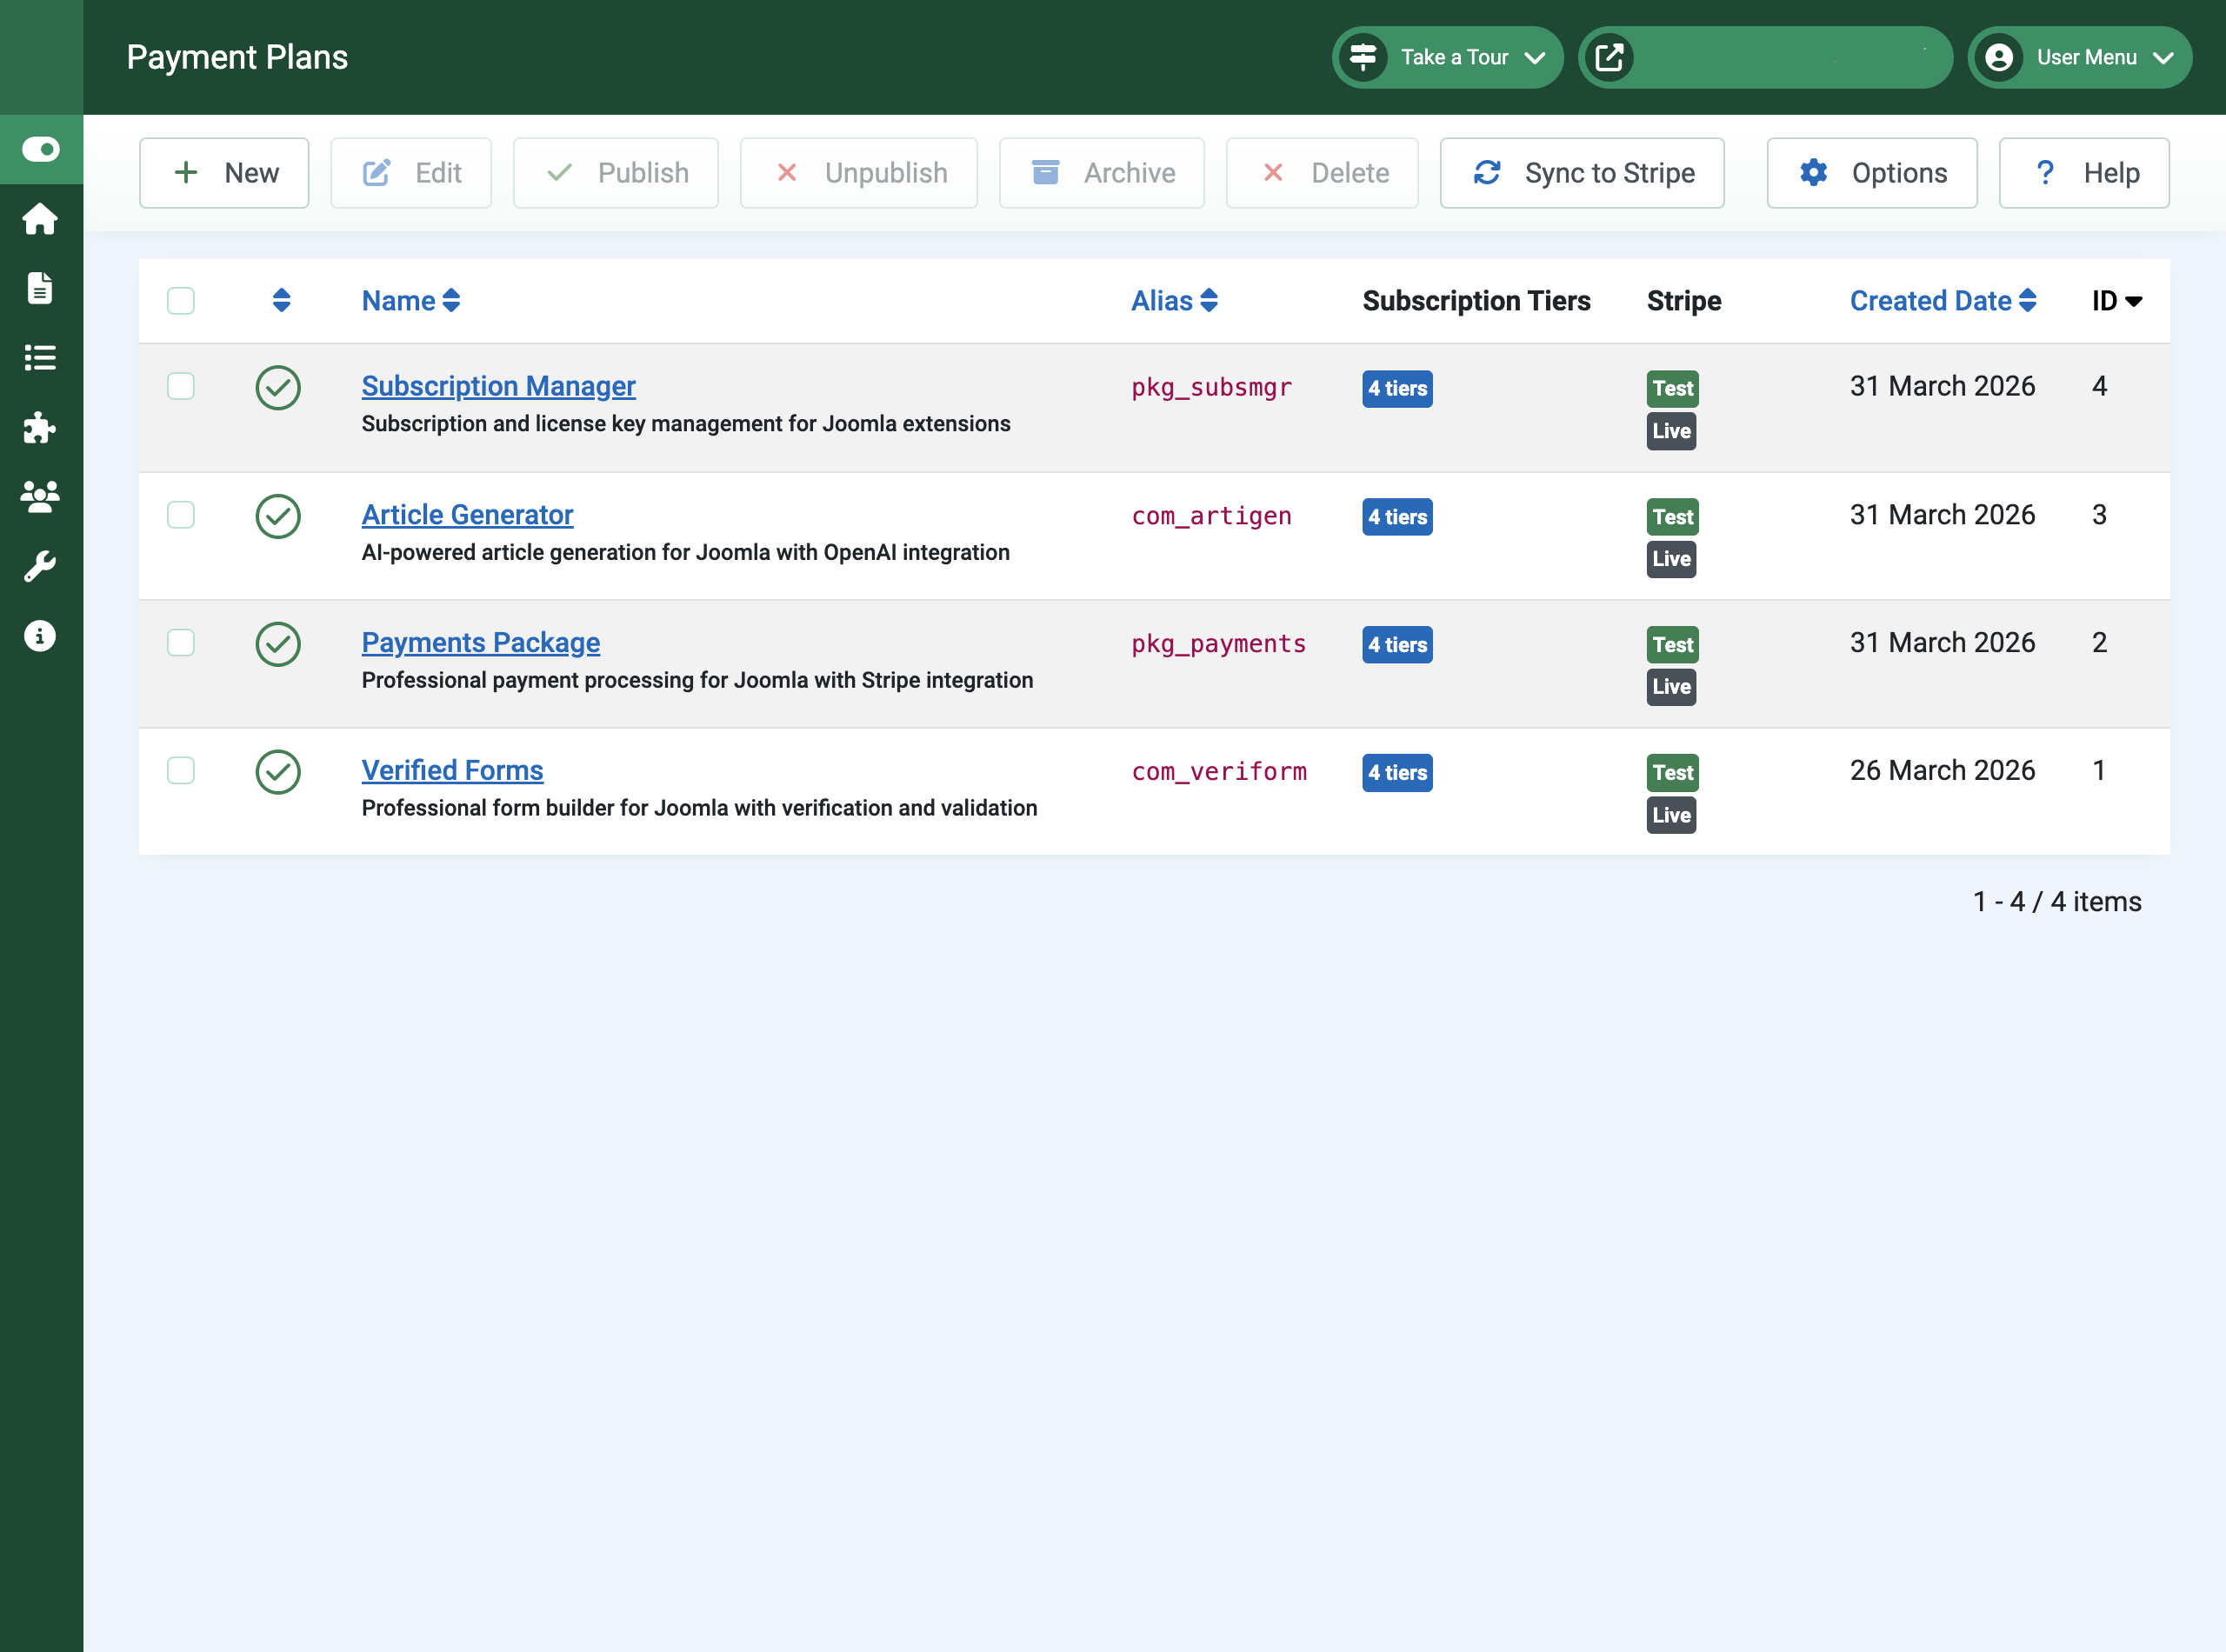
Navigate to Components > Payments > Payment Plans and click New. Each plan represents one product or extension you want to sell. Give it a name, slug, and description.
Plans are the top-level container — tiers and prices sit beneath them.
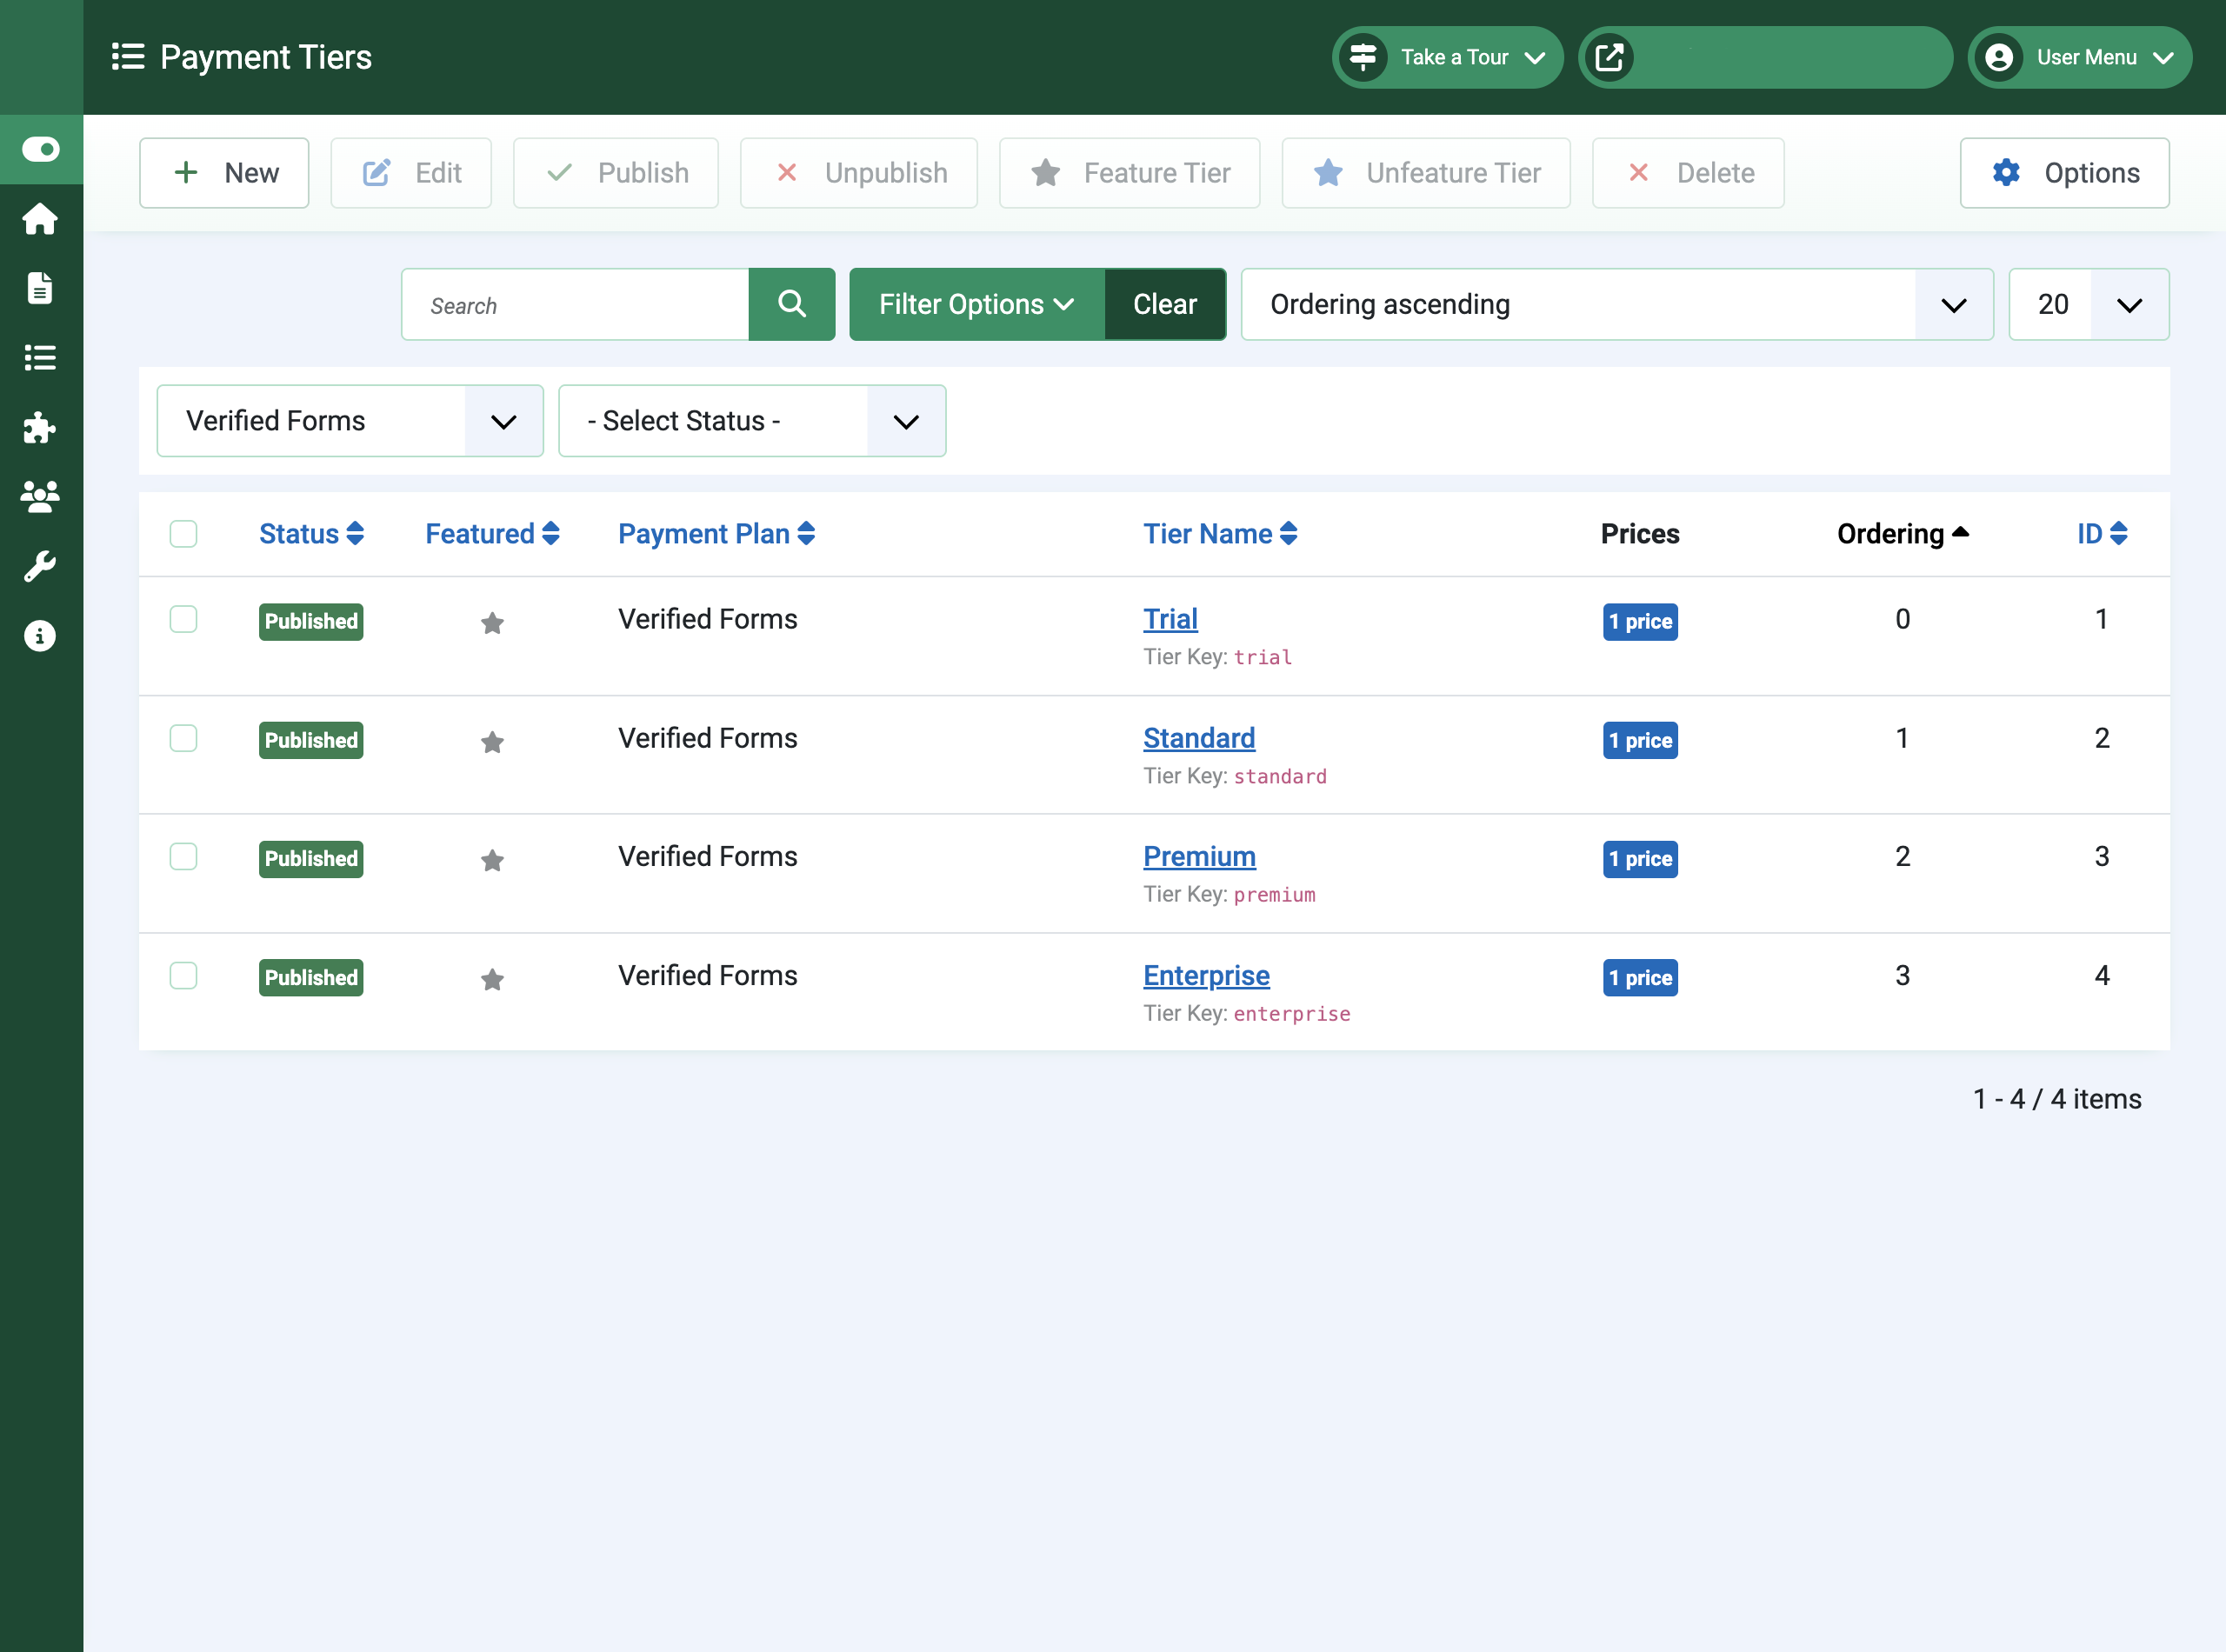
Add Pricing Tiers
Open your plan and add tiers (e.g. Standard, Premium, Enterprise). Each tier can have multiple price rows for different currencies and billing intervals (monthly, yearly, one-time).
Mark one tier as featured to highlight it on your pricing page. Set a featured label like “Most Popular” to display a ribbon.
Set Up Stripe Webhook
In your Stripe Dashboard, create a webhook endpoint pointing to your site’s webhook URL. This allows Stripe to notify your site when payments succeed, fail, or are refunded.
The webhook URL is shown in Options > Stripe Configuration. Copy the signing secret back into your Payments configuration.
Your Payments Subscription
Payments itself uses a tiered subscription model. It is freely available as a trial, and paid subscriptions unlock higher transaction limits and additional features.
Trial
- 10 transactions/month
- 20 subscribers
- Test mode only
- 30-day trial period
Standard
- 500 transactions/month
- 250 subscribers
- Live payments
- Updates and support
Premium
- 5,000 transactions/month
- 2,500 subscribers
- Custom branding
- Discount codes
Enterprise
- Unlimited transactions
- Unlimited subscribers
- Payment links
- Priority support
Stripe Configuration
API Keys
You need two sets of API keys from your Stripe Dashboard: test keys for development and live keys for production. Navigate to Developers > API keys in your Stripe account to find them.
- Publishable Key (
pk_test_orpk_live_) — Used in the browser for Stripe Checkout - Secret Key (
sk_test_orsk_live_) — Used server-side for creating sessions and managing subscriptions
Webhook Setup
Webhooks allow Stripe to send real-time payment notifications to your site. In your Stripe Dashboard:
- Go to Developers > Webhooks
- Click Add endpoint
- Enter your webhook URL (shown in Payments Options)
- Select the events to listen for (payment_intent, checkout.session, invoice, customer.subscription)
- Copy the signing secret (
whsec_) into your Payments configuration
Tax Rates
Tax rates are configured per currency in Stripe and can be overridden per price row in the tier editor. Create tax rates in your Stripe Dashboard under Tax rates, then enter the tax rate IDs in your Payments configuration.
Security
Important Security Recommendations
- Always use HTTPS — Stripe requires it for live payments
- Keep your secret keys and webhook signing secrets confidential
- Enable webhook IP whitelisting to restrict access to Stripe’s IP ranges
Built-in Security Features
- Webhook Signature Verification — Every incoming webhook is verified against Stripe’s signing secret
- IP Whitelisting — Restrict webhook access to known Stripe IP addresses
- Session Timeouts — Configurable admin session timeouts (5–120 minutes)
- Comprehensive Logging — Full audit trail of all transactions and webhook events
- Payment Links — 32-character cryptographically secure URLs
Troubleshooting
pk_live_ and sk_live_) and a separate live webhook signing secret. Live and test webhooks use different endpoints in Stripe. Also verify your site is accessible over HTTPS.checkout.session.completed events.Payments uses the standard Joomla update system. Check for updates via Extensions > Update in your Joomla administrator.
If updates are not appearing, verify your server can reach the Multizone update server. If the update site is missing, reinstall the package to restore it.
mod_payment_plans module is published and assigned to the correct menu items and template position. Check that at least one payment plan with published tiers and prices exists.Support
Need Help?
For additional support, technical questions, or feature requests, get in touch.
- Website: www.multizone.co.uk
- Email:
This email address is being protected from spambots. You need JavaScript enabled to view it. - In-app Help: Available in the Joomla admin under Components > Payments > Help
Important Notes
- Backup First — Always backup your site before installing or updating
- Test Mode — Use Stripe test keys to verify your setup before going live
- HTTPS Required — Stripe live payments require a valid SSL certificate
- Joomla 5+ — Payments requires Joomla 5.x or later